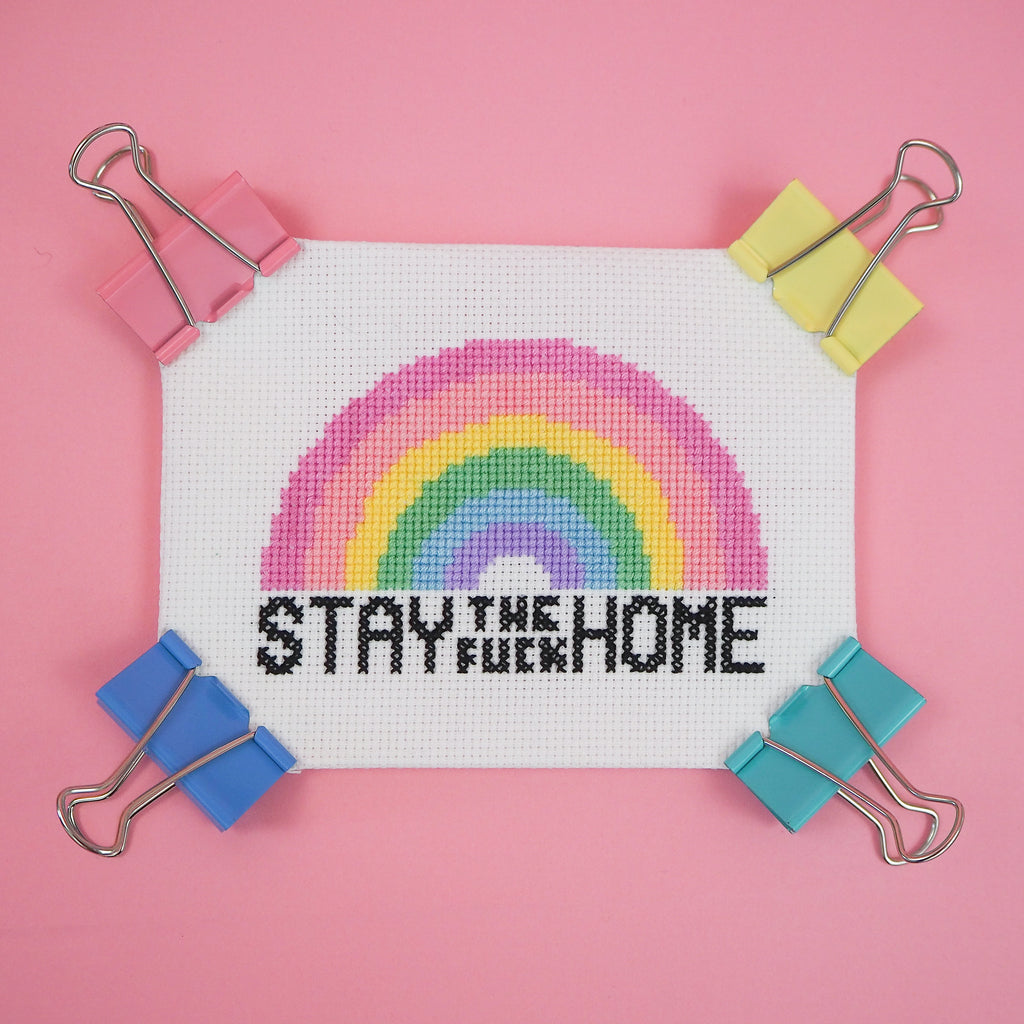


- Pattern - There are plenty of free patterns around, including our Stay The Fuck Home Rainbow Pattern, or you can buy one: we picked six of our favourites on our blog recently and you can see our available patterns for instant download in our Etsy shop. You can print them off if you like, but you can use them from your computer/phone screen too.
- Fabric - Aida is the most common fabric used in cross stitching, it's a relatively stiff cloth woven into a mesh to make stitching easy. It comes in various sizes and colours but most of our patterns suggest using 14 count white Aida. The size quoted is the number of squares per inch, e.g. "14 count" means 14 little squares per inch of fabric: the bigger the count, the smaller the squares (and the overall design) will be.
- Thread - The colours quoted in most patterns are DMC Stranded Cotton which comes in skeins (a skein is just a length of thread) of 6-stranded thread. Most cross stitching is done with 2 strands of this thread so you need to separate the strands. Check your pattern for the suggested colours or choose your own!
- Needle - Cross stitch needles tend to be relatively large and blunt ended, usually size 22-28.
- Scissors - Small, sharp ones are best.
- Measuring tape or ruler
- Embroidery hoop - This is optional, but I find it easier to stitch using a hoop.
2. Getting started

Your pattern should tell you the approximate dimensions of your design and the suggested Aida size. You'll want some extra fabric around the edges of the design, I usually add about 5 cm on each side, but if you can go for more if you're worried about fraying or if the piece is smaller than your embroidery hoop. To prevent fraying, you can stick masking tape around the edges of your cut piece of fabric or use pinking shears to cut a zig-zag edge (I have done neither of these things in the picture!).

Find the centre of your piece of fabric by lightly folding it in half twice, but try not to crease it too much. Put it into your embroidery hoop at this point, if you have one and you're ready to start!
3. Set up your thread

Find the centre of your pattern using the numbered squares at the sides. Halve the total number of stitches and draw a line from the edges until they cross in the middle. Match this up with the crease you made in your fabric. You can either start here or count the squares and begin stitching wherever you like.

Cut a piece of thread, roughly 30 cm long and separate the strands into the number specified on your pattern. If the chart doesn't tell you, use 2 strands.

If you use the whole 6 strands, you'll run out of thread very quickly and your stitches will be thick and difficult to sew, so don't skip this stage!

Thread your needle with your 2 strands and put the other 4 aside to use later. Now, you're ready to make your first stitch!
4. Make your first stitch

You're ready to start sewing! Either begin in the middle at your crease, or count the squares to start where you want. You can tie a knot in the thread at the end of the length if you like or just leave the tail hanging.

I'm going to count to the side of the blue part of the rainbow and start there: push the needle through the back of your fabric and gently pull the thread through to the front.

Push your needle through the front to make a diagonal line across the square. Each square of your pattern is equal to one square of Aida (or one complete cross stitch). If you've started with a knot you can skip step 5, but if you'd like to know how to start without knotting your thread, give it a read!
5. Starting off without a knot

Leave a short tail after your first stitch so that the back of your fabric looks like this.

Check your pattern for where your next stitch will be and push your needle through the hole, but don't pull the thread all the way yet.

When you look at the back there should be a loop of thread and your little thread tail that you left after the first stitch.

Using one finger, hold the end of the tail inside the loop of thread and pull the needle to close the loop over the tail.

The back should look like this once you're done! Once you get the hang of it, it's faster than tying knots and helps your design lie flat.
6. Sewing a row or column of stitches

You can either sew each cross stitch individually or sew a row/column of stitches in one direction and then go backwards. I like to do the second one because I find it easier to count the stitches, but there isn't really a right or wrong way to do it.

Work backwards, stitching the other part of the cross along your row.

Stitches are looking good! Start your next row (wherever you want, but it's easiest to do the closest ones).
7. Finishing off your thread

When you start running out of thread and it gets more difficult to stitch, think about finishing off your piece of thread.

Once you've finished your last stitch, push your needle through some of the loops of thread you've made on the back of your fabric.

Pull the thread gently until it's taught, but not so tightly that it scrunches up your stitches. Cut your thread near to where it exits the loops so you don't have an annoying dangling bit. Now you're ready to start your next thread!
8. Finished?

Once you've done all the stitches, you can iron your finished piece. Put a tea towel on top and use the medium setting on the iron and a bit of steam to help flatten and stiffen the fabric. Trim the edges and display it in a frame or hoop!
Congratulations on completing your project! Crack open the wine to celebrate!
Leave a comment