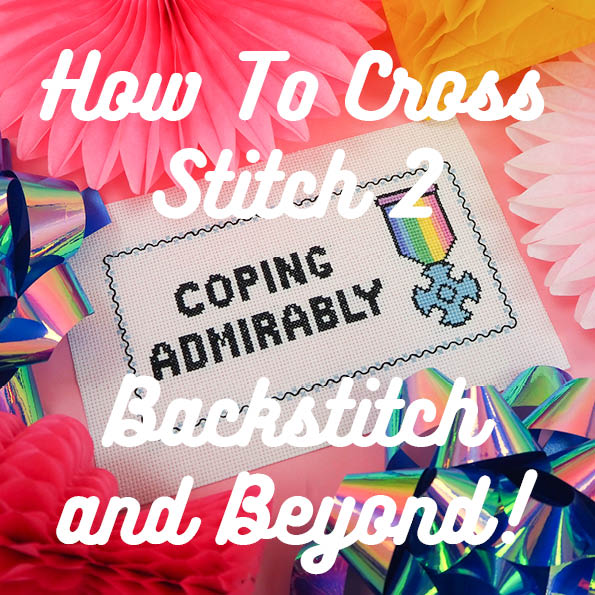
Greetings friends and fellow stitchers! It’s been a while since we released our first blog post about cross stitching back in 2020, and since then we’ve turned a bunch of our designs into cross stitch patterns. Some of these patterns use backstitch and double cross stitch on top of standard cross stitch, so we wanted to make another tutorial explaining how to do these techniques.
This blog post will build on our previous one, so if you would like a quick refresher on the basics of cross stitch you can check it out here.

Our "Too Tired To Party" pattern uses backstitch and half-stitches in the border.
Backstitch
Backstitch is a simple way to add linework into patterns. It will show up as a solid black line in patterns, and is often used to outline areas of cross stitch and help make the finished piece stand out.
Here's how you do it, using part of our "Too Tired To Party" border pattern as an example:
1 - To get started, push your needle and thread up through hole A (shown in the diagram below) to the front of your fabric.
2 - Push the needle down through hole B to the back of the fabric. So far, it's just like regular cross stitch.
3 - Now, push your needle up through hole C, and bring it back to the previous hole (B) and go through that one again. This is what puts the "back" in our backstich!
4 - Next, we bring the needle up through D and down through C. Then up through E and down through D. Each stitch is worked "backwards", and this lets us stitch one continuous-looking line on the front of the fabric. Hurray!
5 - Backstitch away to your heart's content, and when you're finished, just secure and trim off any excess thread the way you normally would when cross stitching.

This backstitch pattern is used as a border design in several of our patterns.
The back stitches in our border example only have a single "square" betwen each hole, but sometimes backstitches will be two or more squares long, like the bubbles in our "Books are Magic" pattern.

The backstitch around the bubbles really helps them "pop"!
Double Cross-Stitch
Double cross stitch, also known as Leviathan stitch or Smyrna stitch (names which are much more fun in my opinion, even if they are less descriptive), is a decorative technique where you add a "straight" cross stitch on top of a standard diagonal one.
You can identify them in the pattern because, unlike a regular cross stitches which shows up as a block of colour or a symbol, these look exactly like how they're stitched - a regular cross stitch "X" with an upright cross on top of it.

The blue squares with the # symbol are regular cross stitch, and the blue "stars" at the bottom are our double cross stitch!
Double cross stitches are sometime stitched over several "squares", but in our "Too Tired To Party" border pattern they take up the space of one standard cross stitch to give the effect of cute little stars! Here's how to stitch the tiny double cross stitches:
1 - Thread your needle (using just a single strand of floss) and stitch a normal cross stitch (shown in blue in our diagram below)
2 - Now bring your needle up through the aida fibres at one side of the stitch (Point A in the diagram). As the needle is coming through a chunk of aida fibres instead of the normal cross stitch holes, this part can be a bit finicky. Just be patient, believe in yourself,and gently wiggle the point of the needle through. If it doesn't look right at first, you can always remove the needle and thread, smooth out the aida fibres, and start again. Don't worry, you've got this!
3 - Gently push the needle back down through the aida fibres at the other side of the stitch (Point B), like you did when coming up through point A. This will give you a horizontal line on top of your standard cross stitch.
4 - Now come up at point C and down through point D, gently wiggling the needle through the threads of aida fabric as before. This will give you a vertical line on top of the cross stitch, and completes our double cross stitch!
5 - Secure and trim off the excess thread as you would after a regular cross stitch, or if your next double cross stitch is nearby (like in our border pattern) just jump across and start the next one. You've done it - woohoo!

This tiny double cross stitch joins the backstitch to make our repeating border pattern.
While this may seem like a lot of effort for a tiny square, double cross stitches catch the light differently from regular cross stitches and do look different, even from a distance. We think they add a little bit of extra pizazz to the finished piece. However, if you don't enjoy doing them and would prefer to just stitch regular cross stitch squares in the border, that's fine too!

The single strand of floss makes our Double Cross Stitches look like delicate stars, visually distinct from the regular cross stitches used in the rest of our "Coping Admirably" pattern.
We hope you found these tutorials useful. Which stitch are you most excited to try first? Are there any other cross stitch techniques you'd like to learn?
If you'd like to peruse our list of cross stitch patterns, you can find them here. Until next time, happy stitching!


Leave a comment