
This blog post was written by staff member MJ Wallace
In our recent blog post Five Ways To Display Your Pins, one of the options we mentioned was turning them into a needle minder. Needle-minders are a fun and fairly easy way to use your favourite pins in different ways, so here's a tutorial on how to make one yourself!
If you're a cross stitcher or embroiderer, you might already be familiar with needle minders, but for those who are not here's a quick description: Needle Minders are a small, flat (usually metal) item with a very strong magnet fixed to its back. The needle minder is kept on the front of the cross stich or embroidery project using another strong magnet on the underside of the fabric. When you need to take a break from stitching, you can pop your needle onto the needle minder where it will be held in place securely thanks to the magnets. No more losing your needle down the side of the couch, or getting your thread in a tangle - hurray!

Similar to enamel pins, you can buy lots of very cute needle minders in a variety of designs. In fact, a needle minder is basically just the "design" part of an enamel pin with a magnet on the back instead of a spike. Therefore, we can easily transform one of our currently-owned enamel pin into a needle minder and give it a new life. It's easy, affordable, and also who doesn't love doing a little project?
Let's get started!

You will need:
A surface to work on that you don't mind getting potentially glue-y (I used my not-very-aesthetic but super useful cutting board)
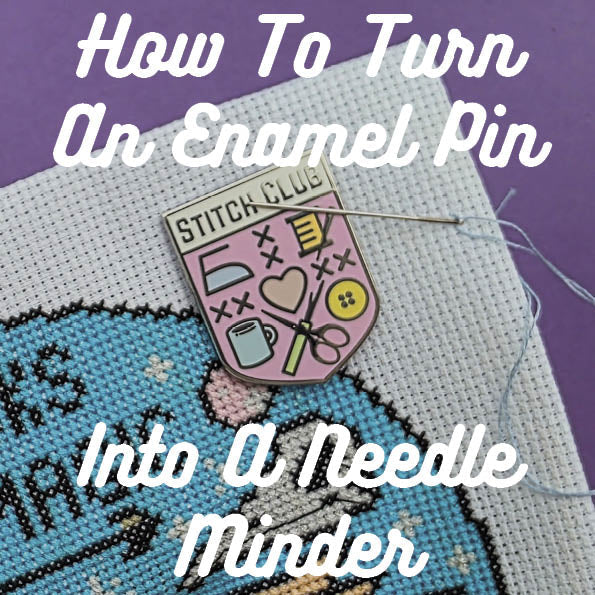
An enamel pin (I'm using our Pastel Stitch Club design because it felt appropriate for our pin's new calling 💜)
Two strong magnets (as strong as you can get 💪)
Superglue
A small pair of snips/cutters (I use a pair I got in a jewellery making supply kit many years ago)
Snip that spike!
Our first step is to remove the spike/post(s) from the back of your pin. Using your snips/cutters, cut off the spike(s) as close to its base as you can.

Important Safety Warning! Be very careful and potentially wear eye protection for this step, as the small metal spikes sometimes decide to shoot for the moon and fly all over the place once freed from their pin backing.
Don't worry if there's still a small amount sticking up after you've finished (this was the case for me as you'll see below), as the depth of the magnet will prevent it from touching the fabric or causing issues. But if you want it really perfect, you can always take the optional step of smoothing it off with a metal file.

Glue that Magnet!
Now we take our superglue (make sure it's a glue that can be used with metal), and glue the magnet on the back of the pin. I like to position it right next to where the spikes used to be, both because that's usually the centre of the design, and also because it helps keep any leftover stubs/rough bits from the spike away from the fabric.


So, what do you think? Will you be transforming any of your enamel pins into needle minders? What else do you think enamel pins could be used for? (other than looking awesome 😎) Let us know!
Leave a comment